-
Adding a client
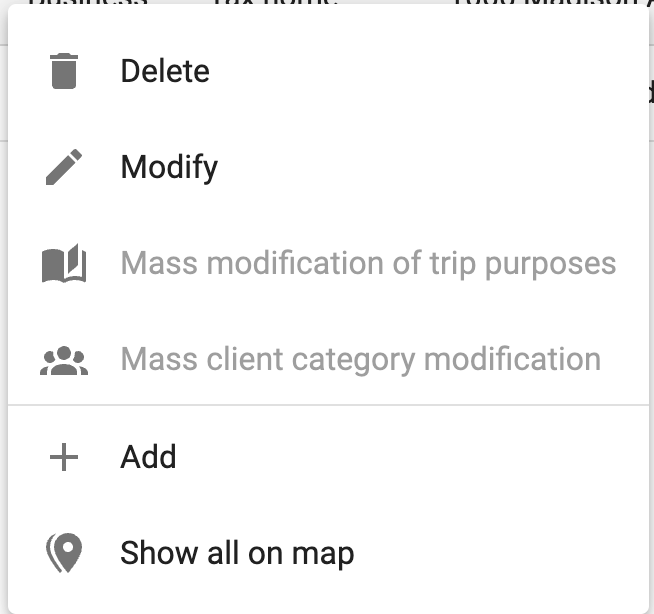
In the List view, select Add from the right-click menu.
Or, click the menu at the top right and select Add: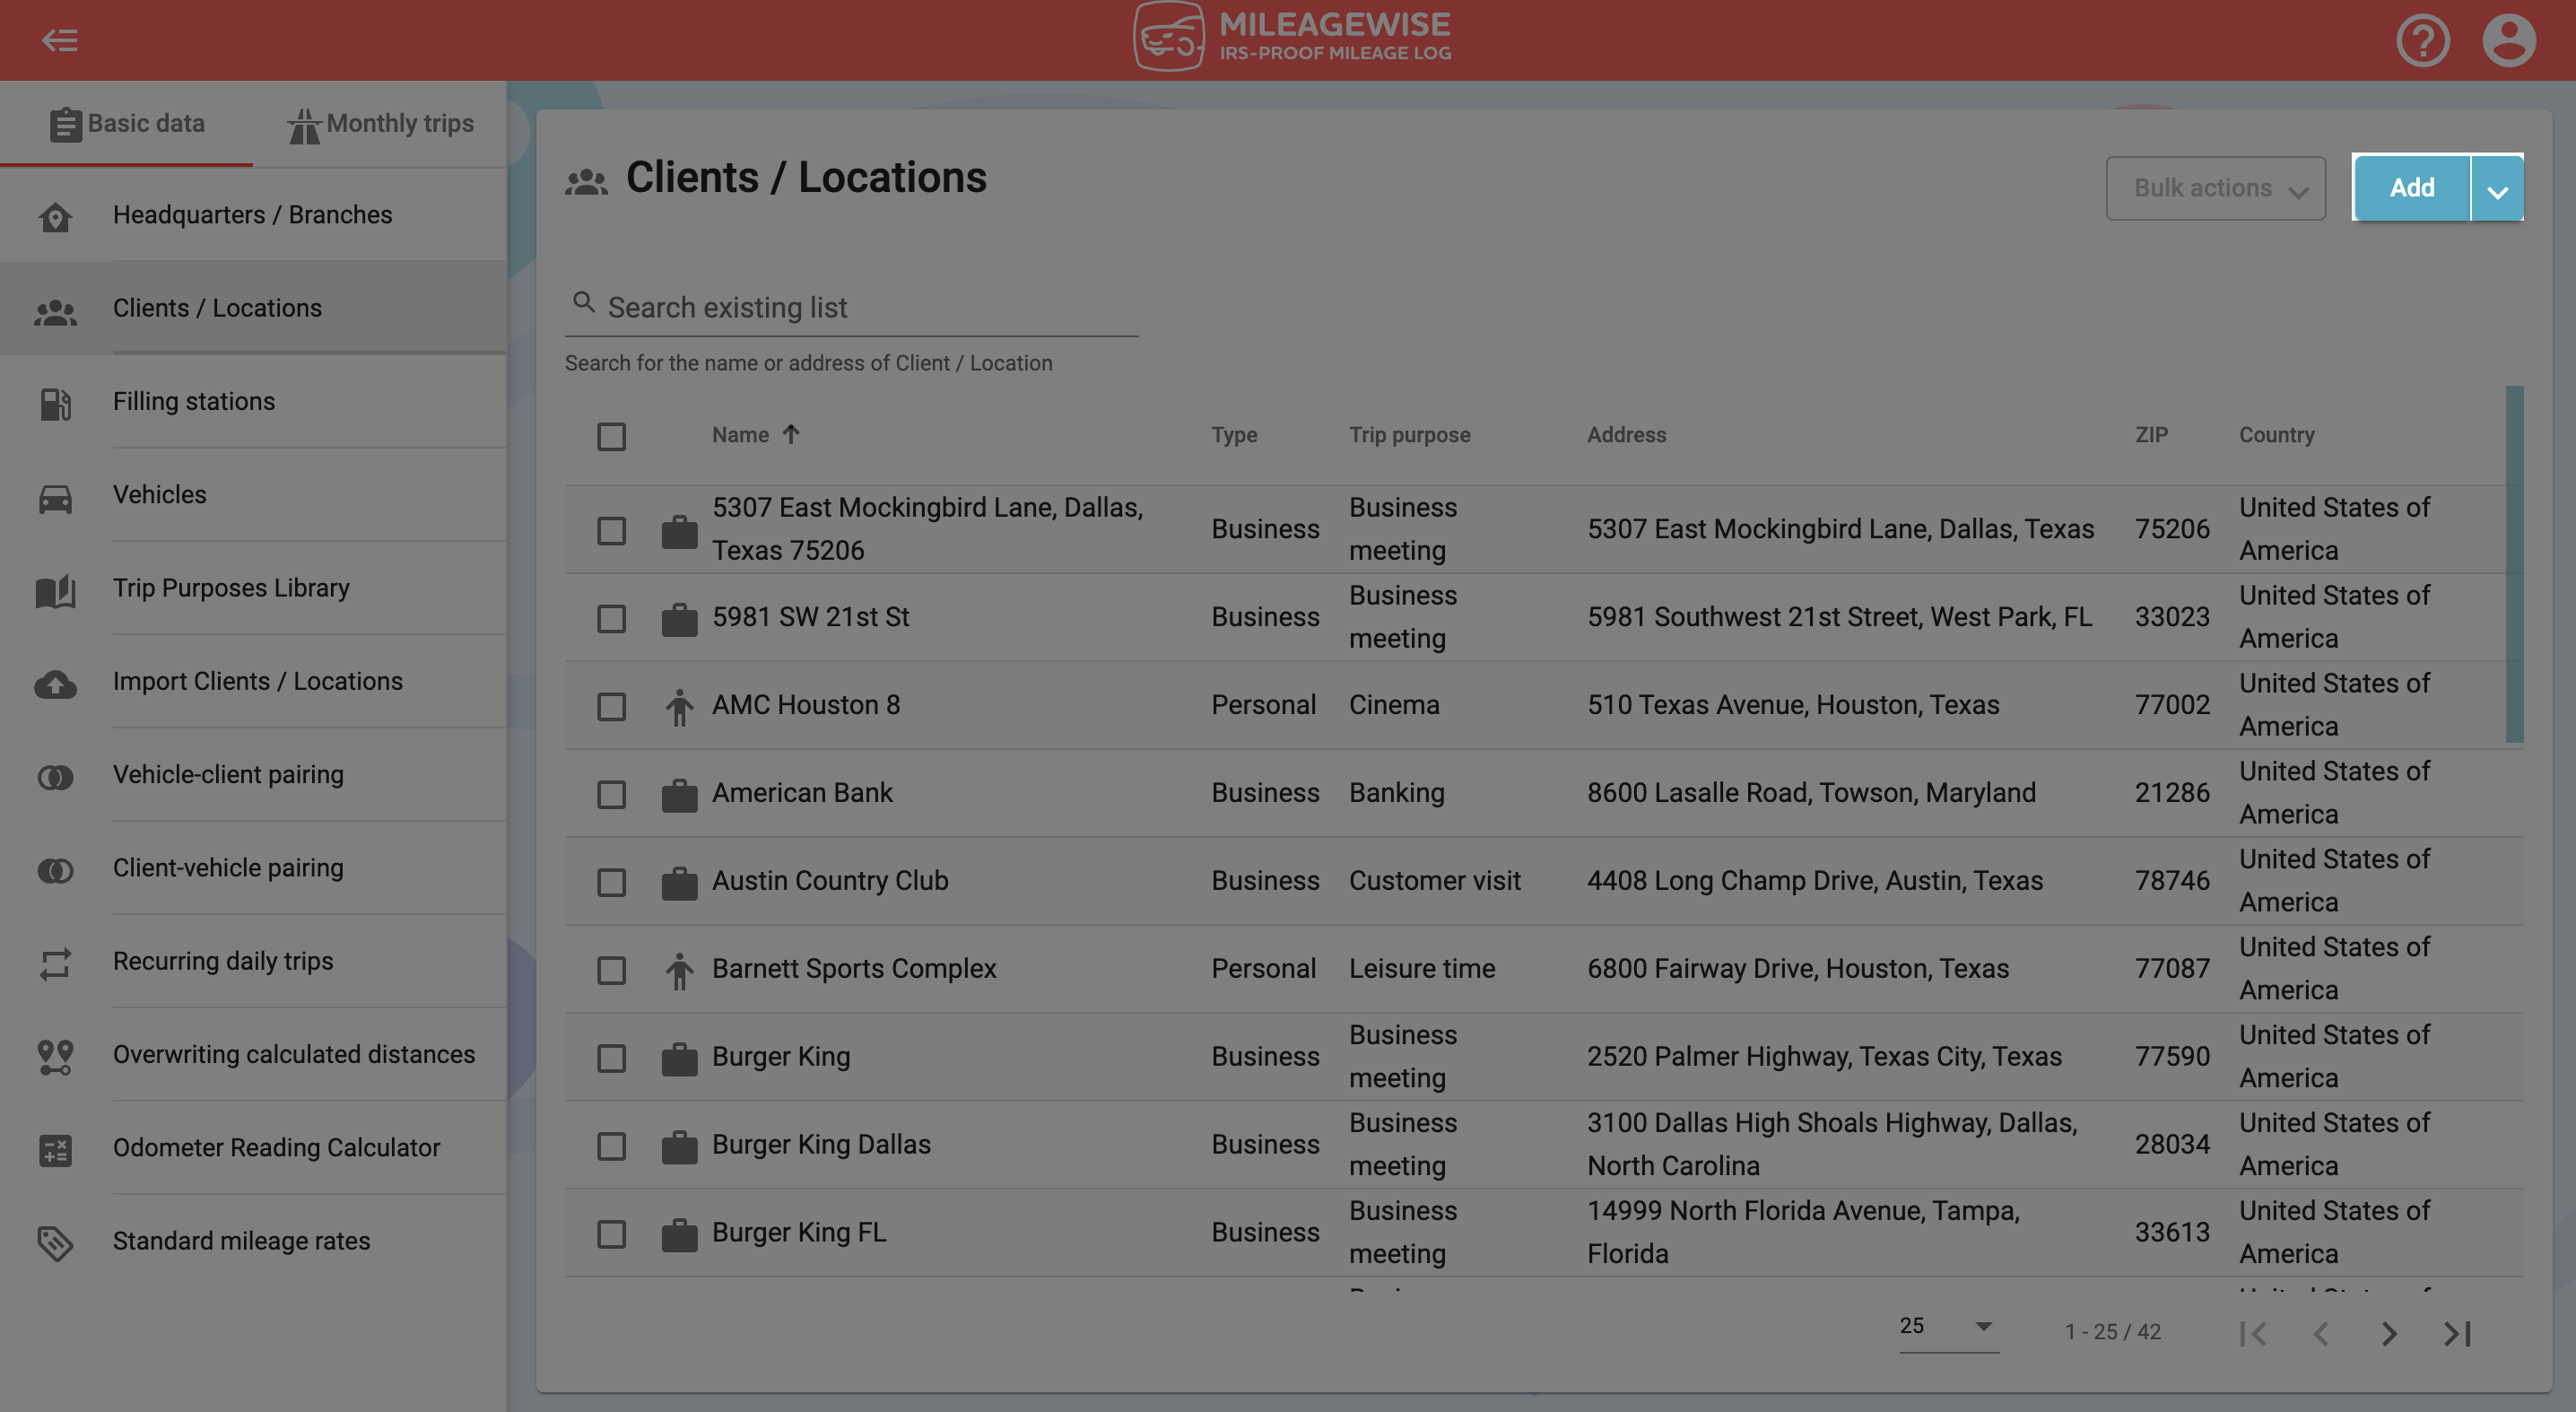
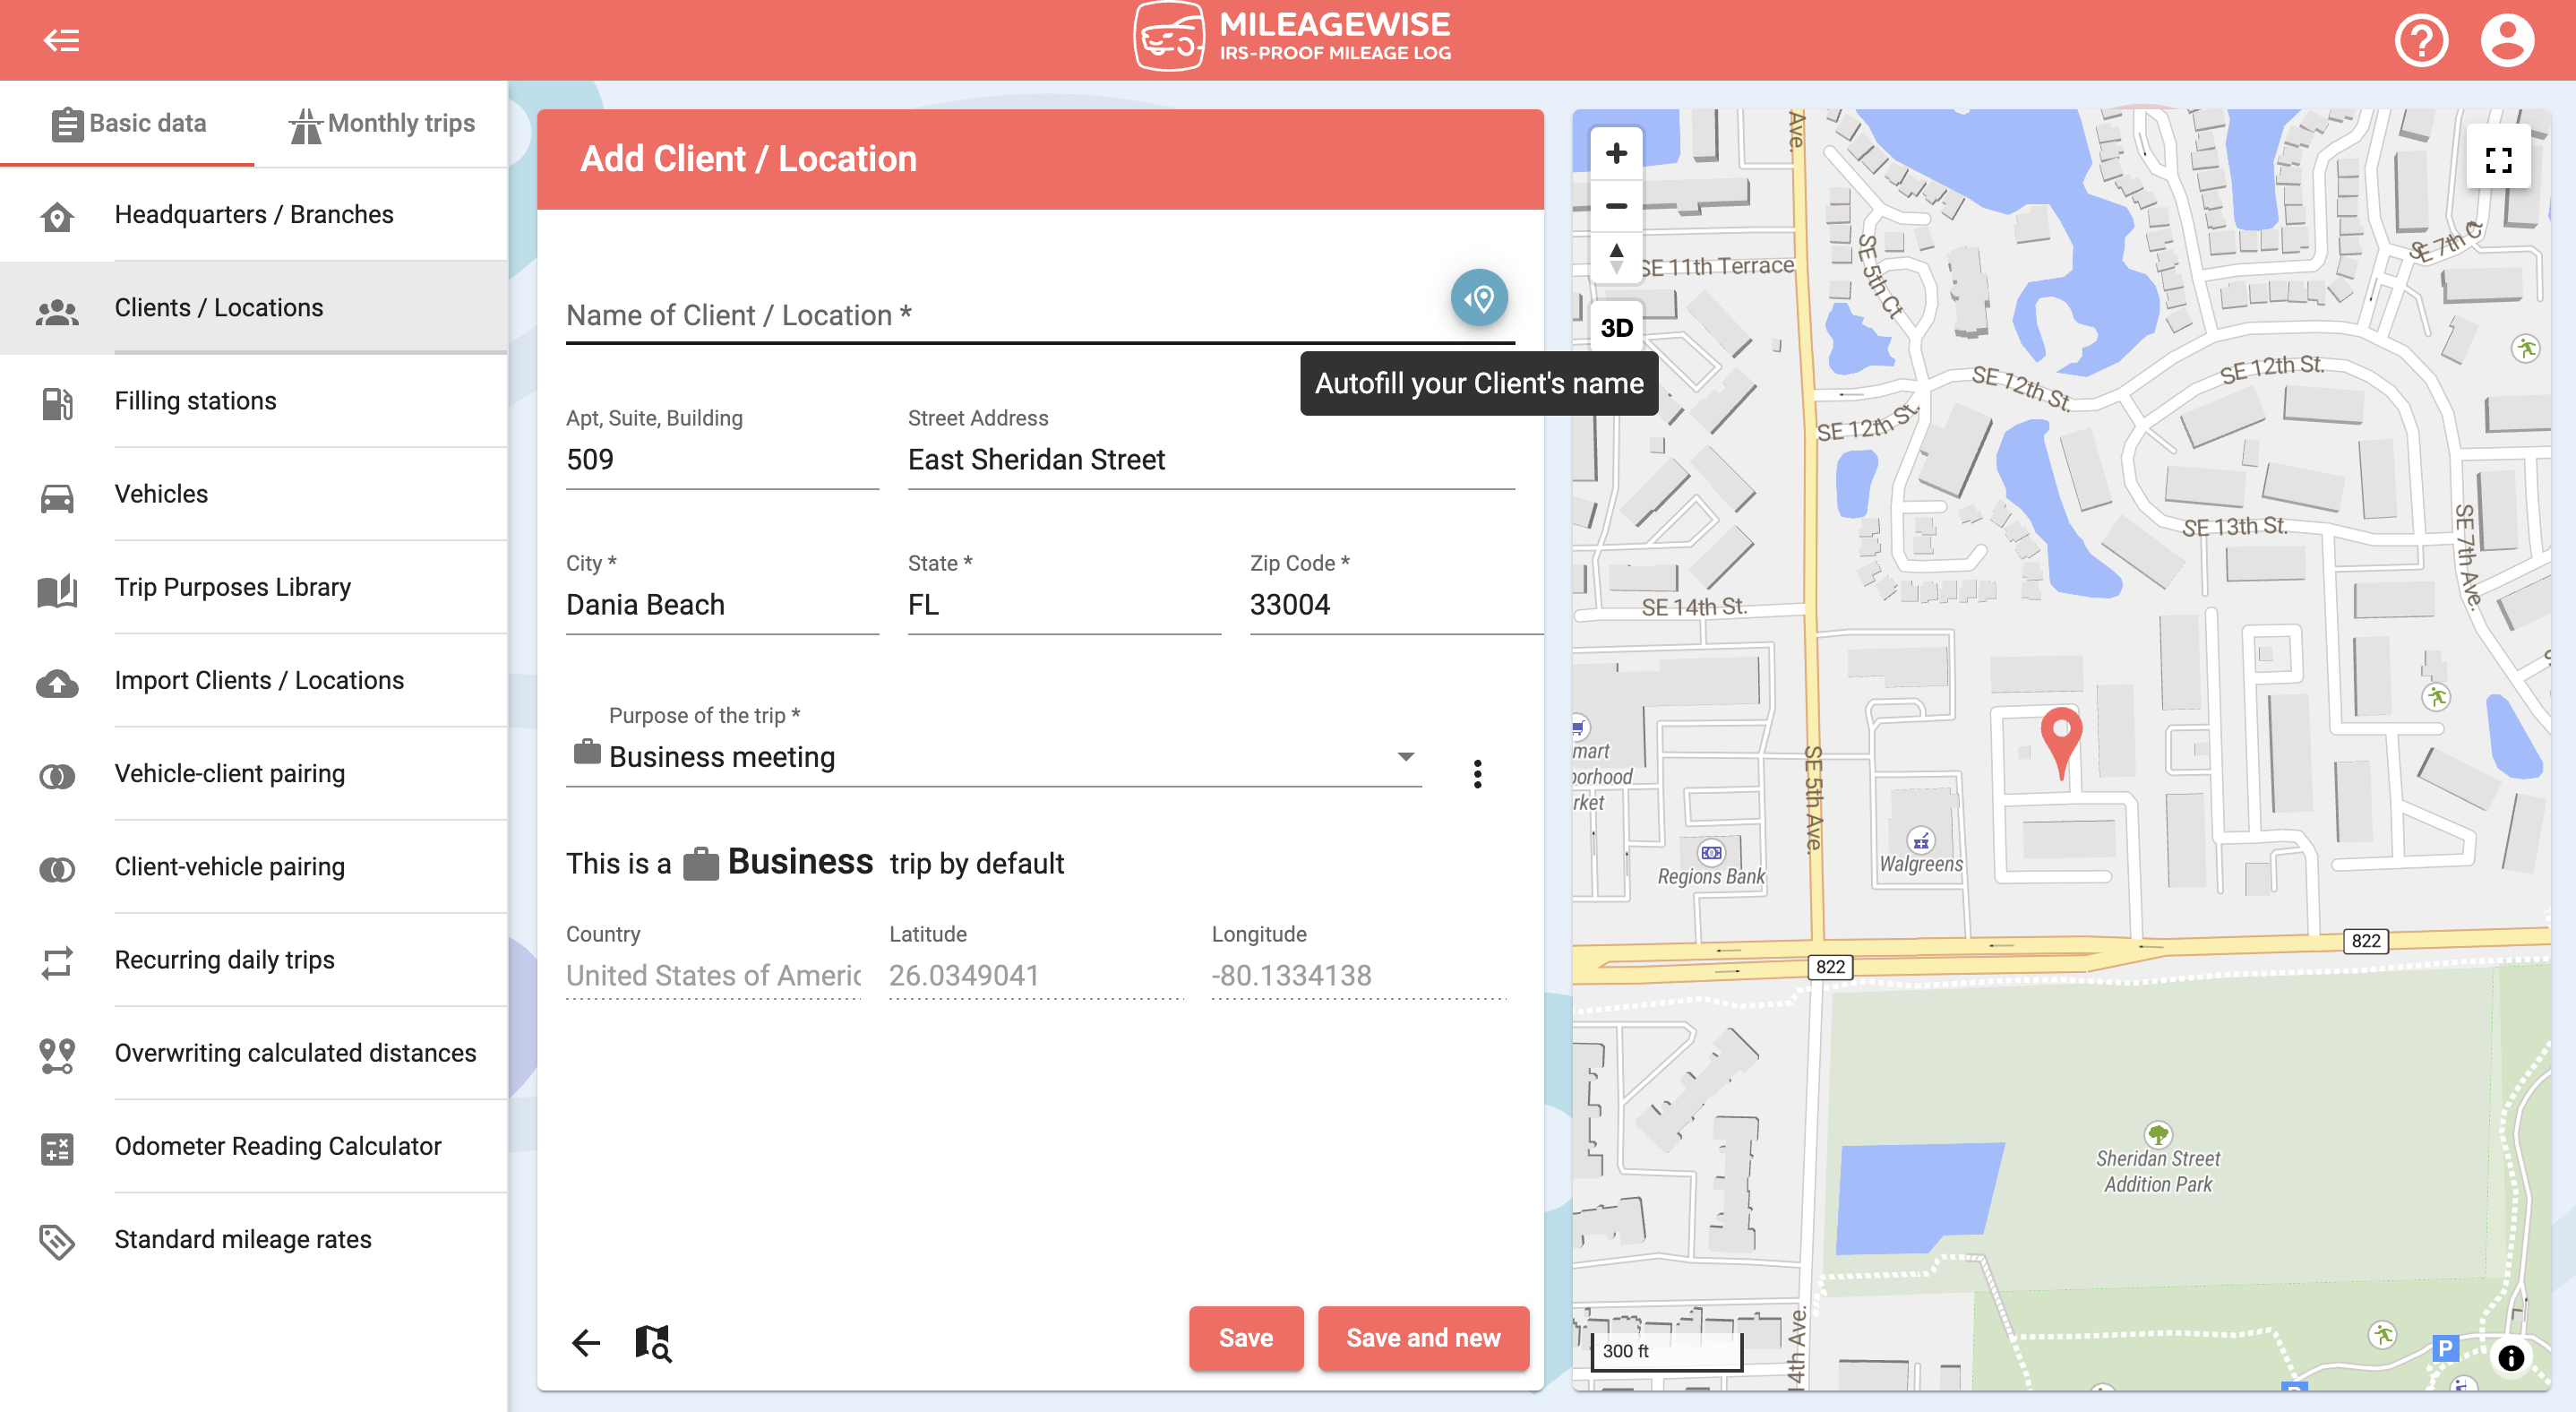
You can zoom in and out on the right-hand visual map as you would in other map applications. You can also tilt the 3D map interface to find the point you are looking for. Once you have defined the point you are looking for, click on it to place the marker.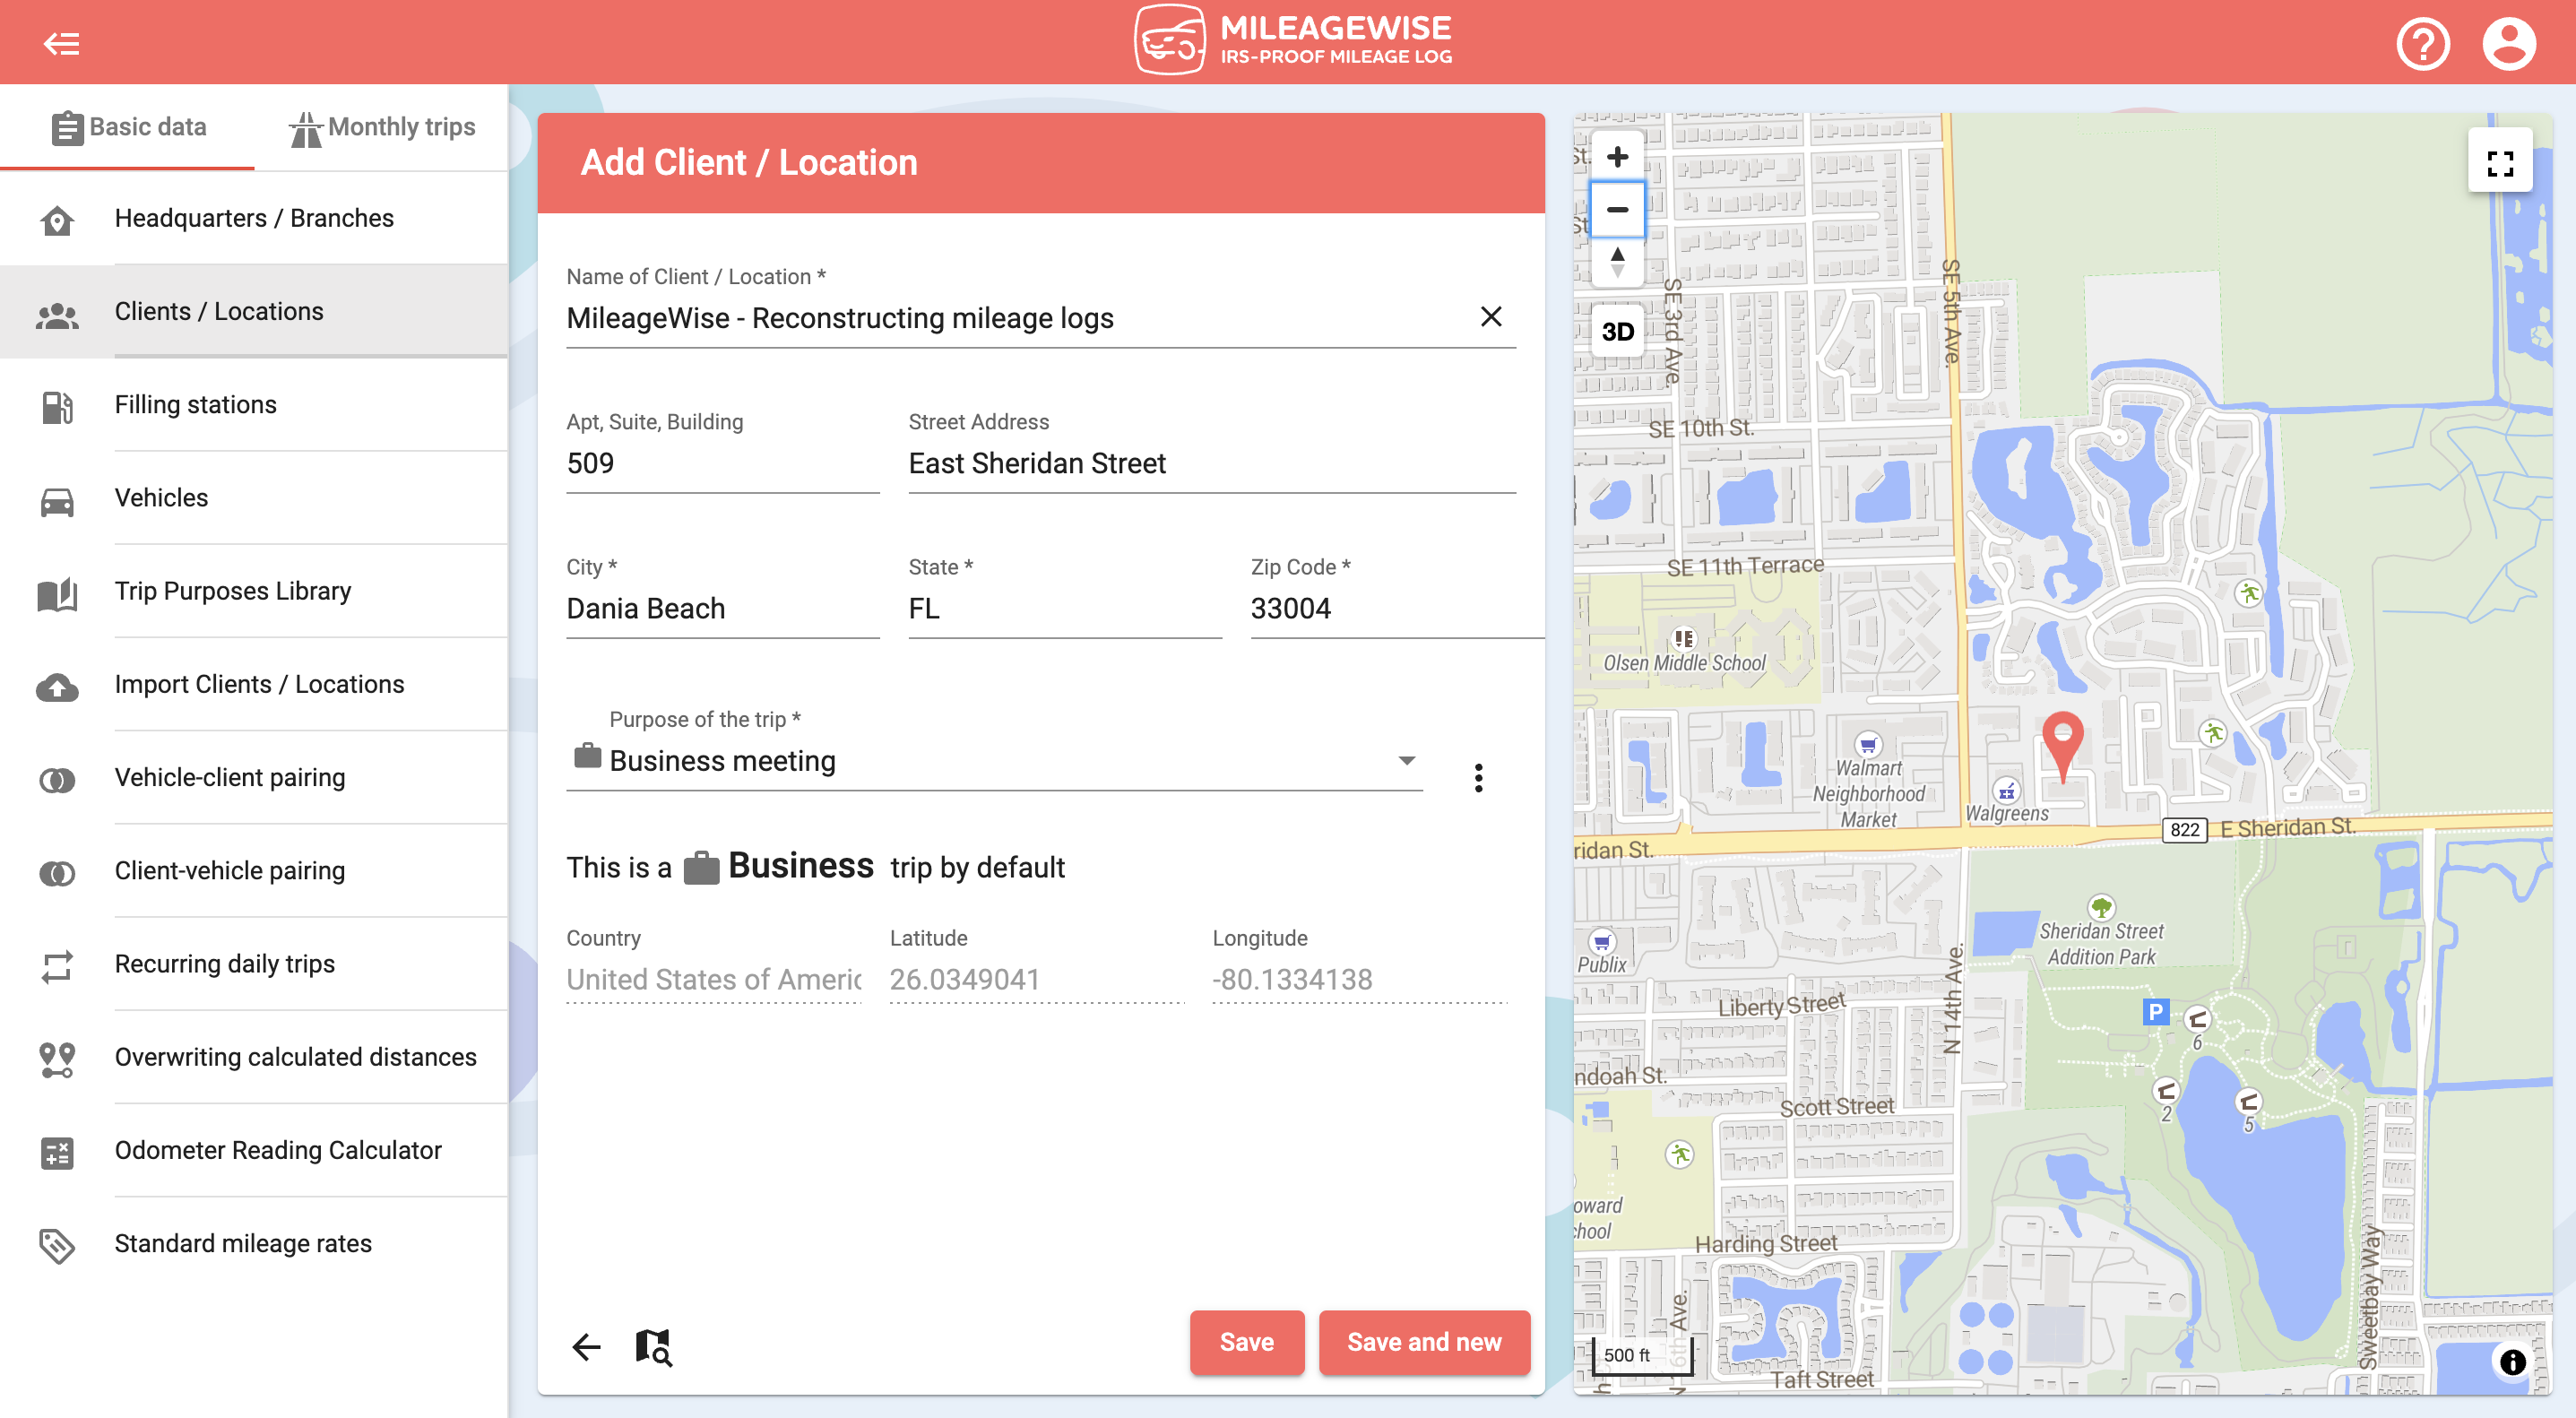 You can see the address on the map by clicking on the
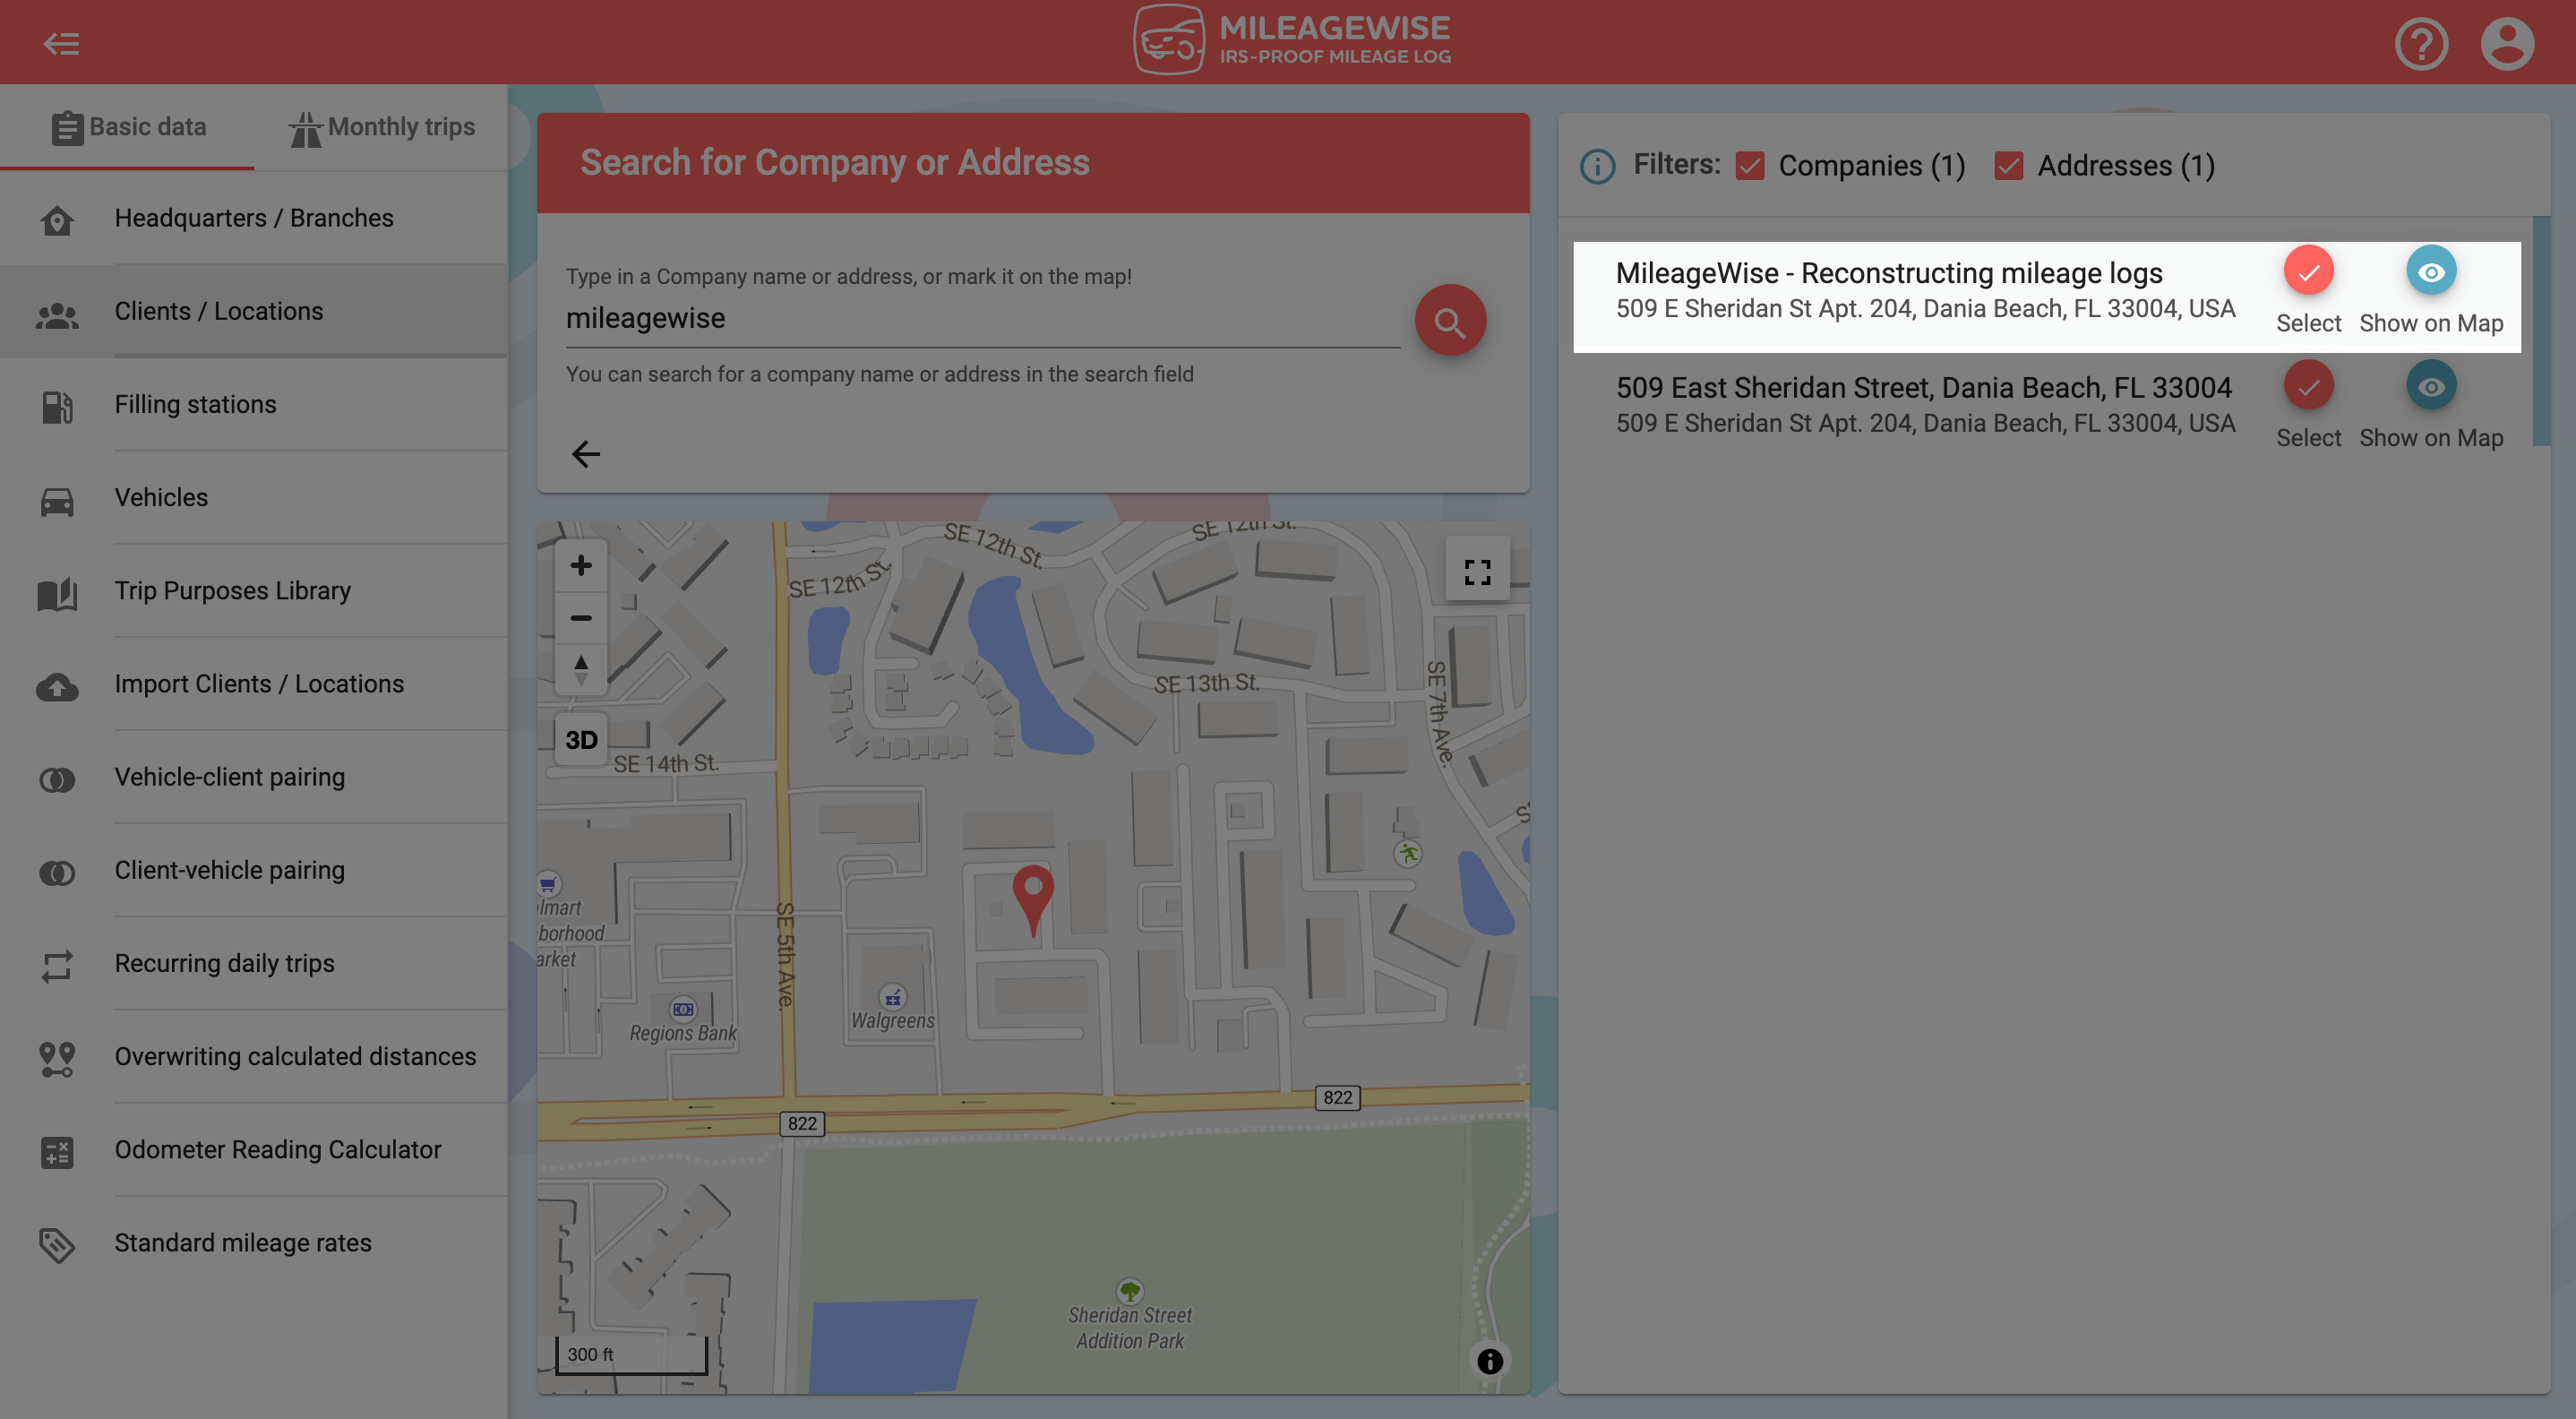
 ![]() icon at the end of every address in the result list. If everything is correct, click on the
icon at the end of every address in the result list. If everything is correct, click on the ![]() icon to select the result!
icon to select the result!
-
Purpose of the trip
In the Client’s name field, enter the name of your client.
If you want to use the address of your client as the name of your client as well, click on the ![]() icon at the end of the Client’s name field to automatically insert the address information.
icon at the end of the Client’s name field to automatically insert the address information.
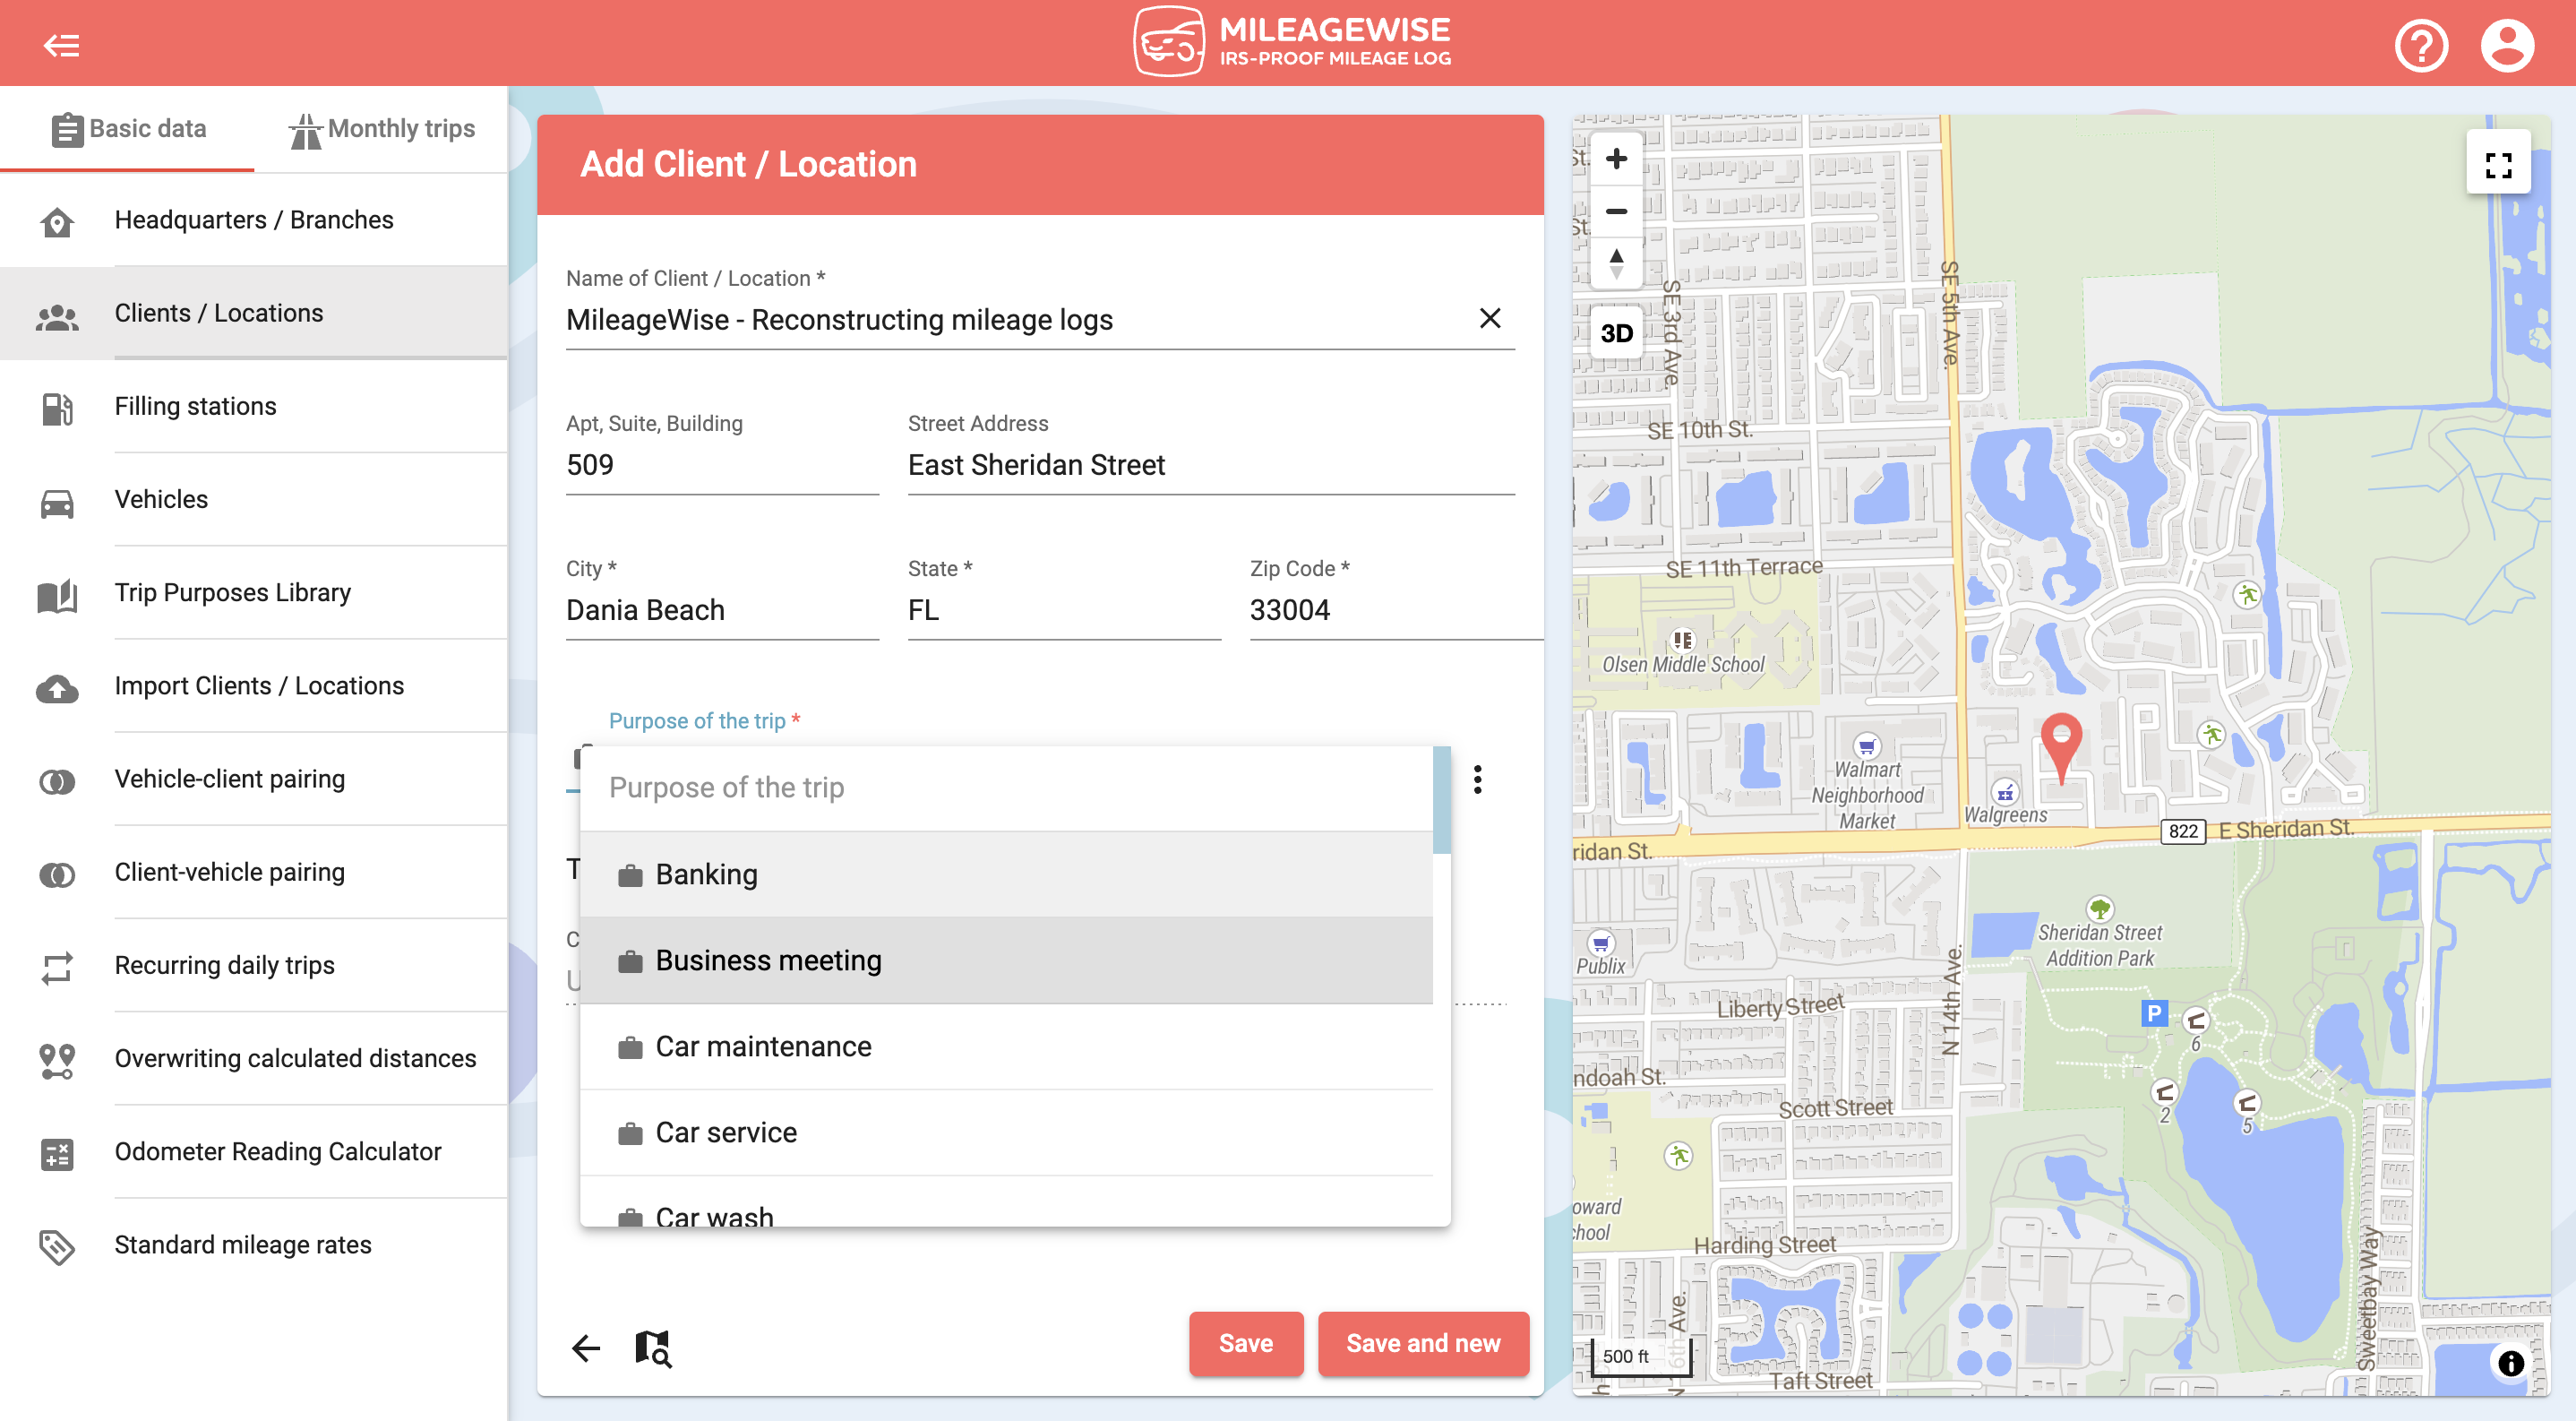
The address data will automatically appear. From the drop-down menu, select a trip purpose, or add a new one. In the case of a business vehicle, be careful whether you choose a business or a personal purpose, because it will determine whether the program considers it a business or personal trip when visiting the client!
And lastly, all you have to do is click Save!
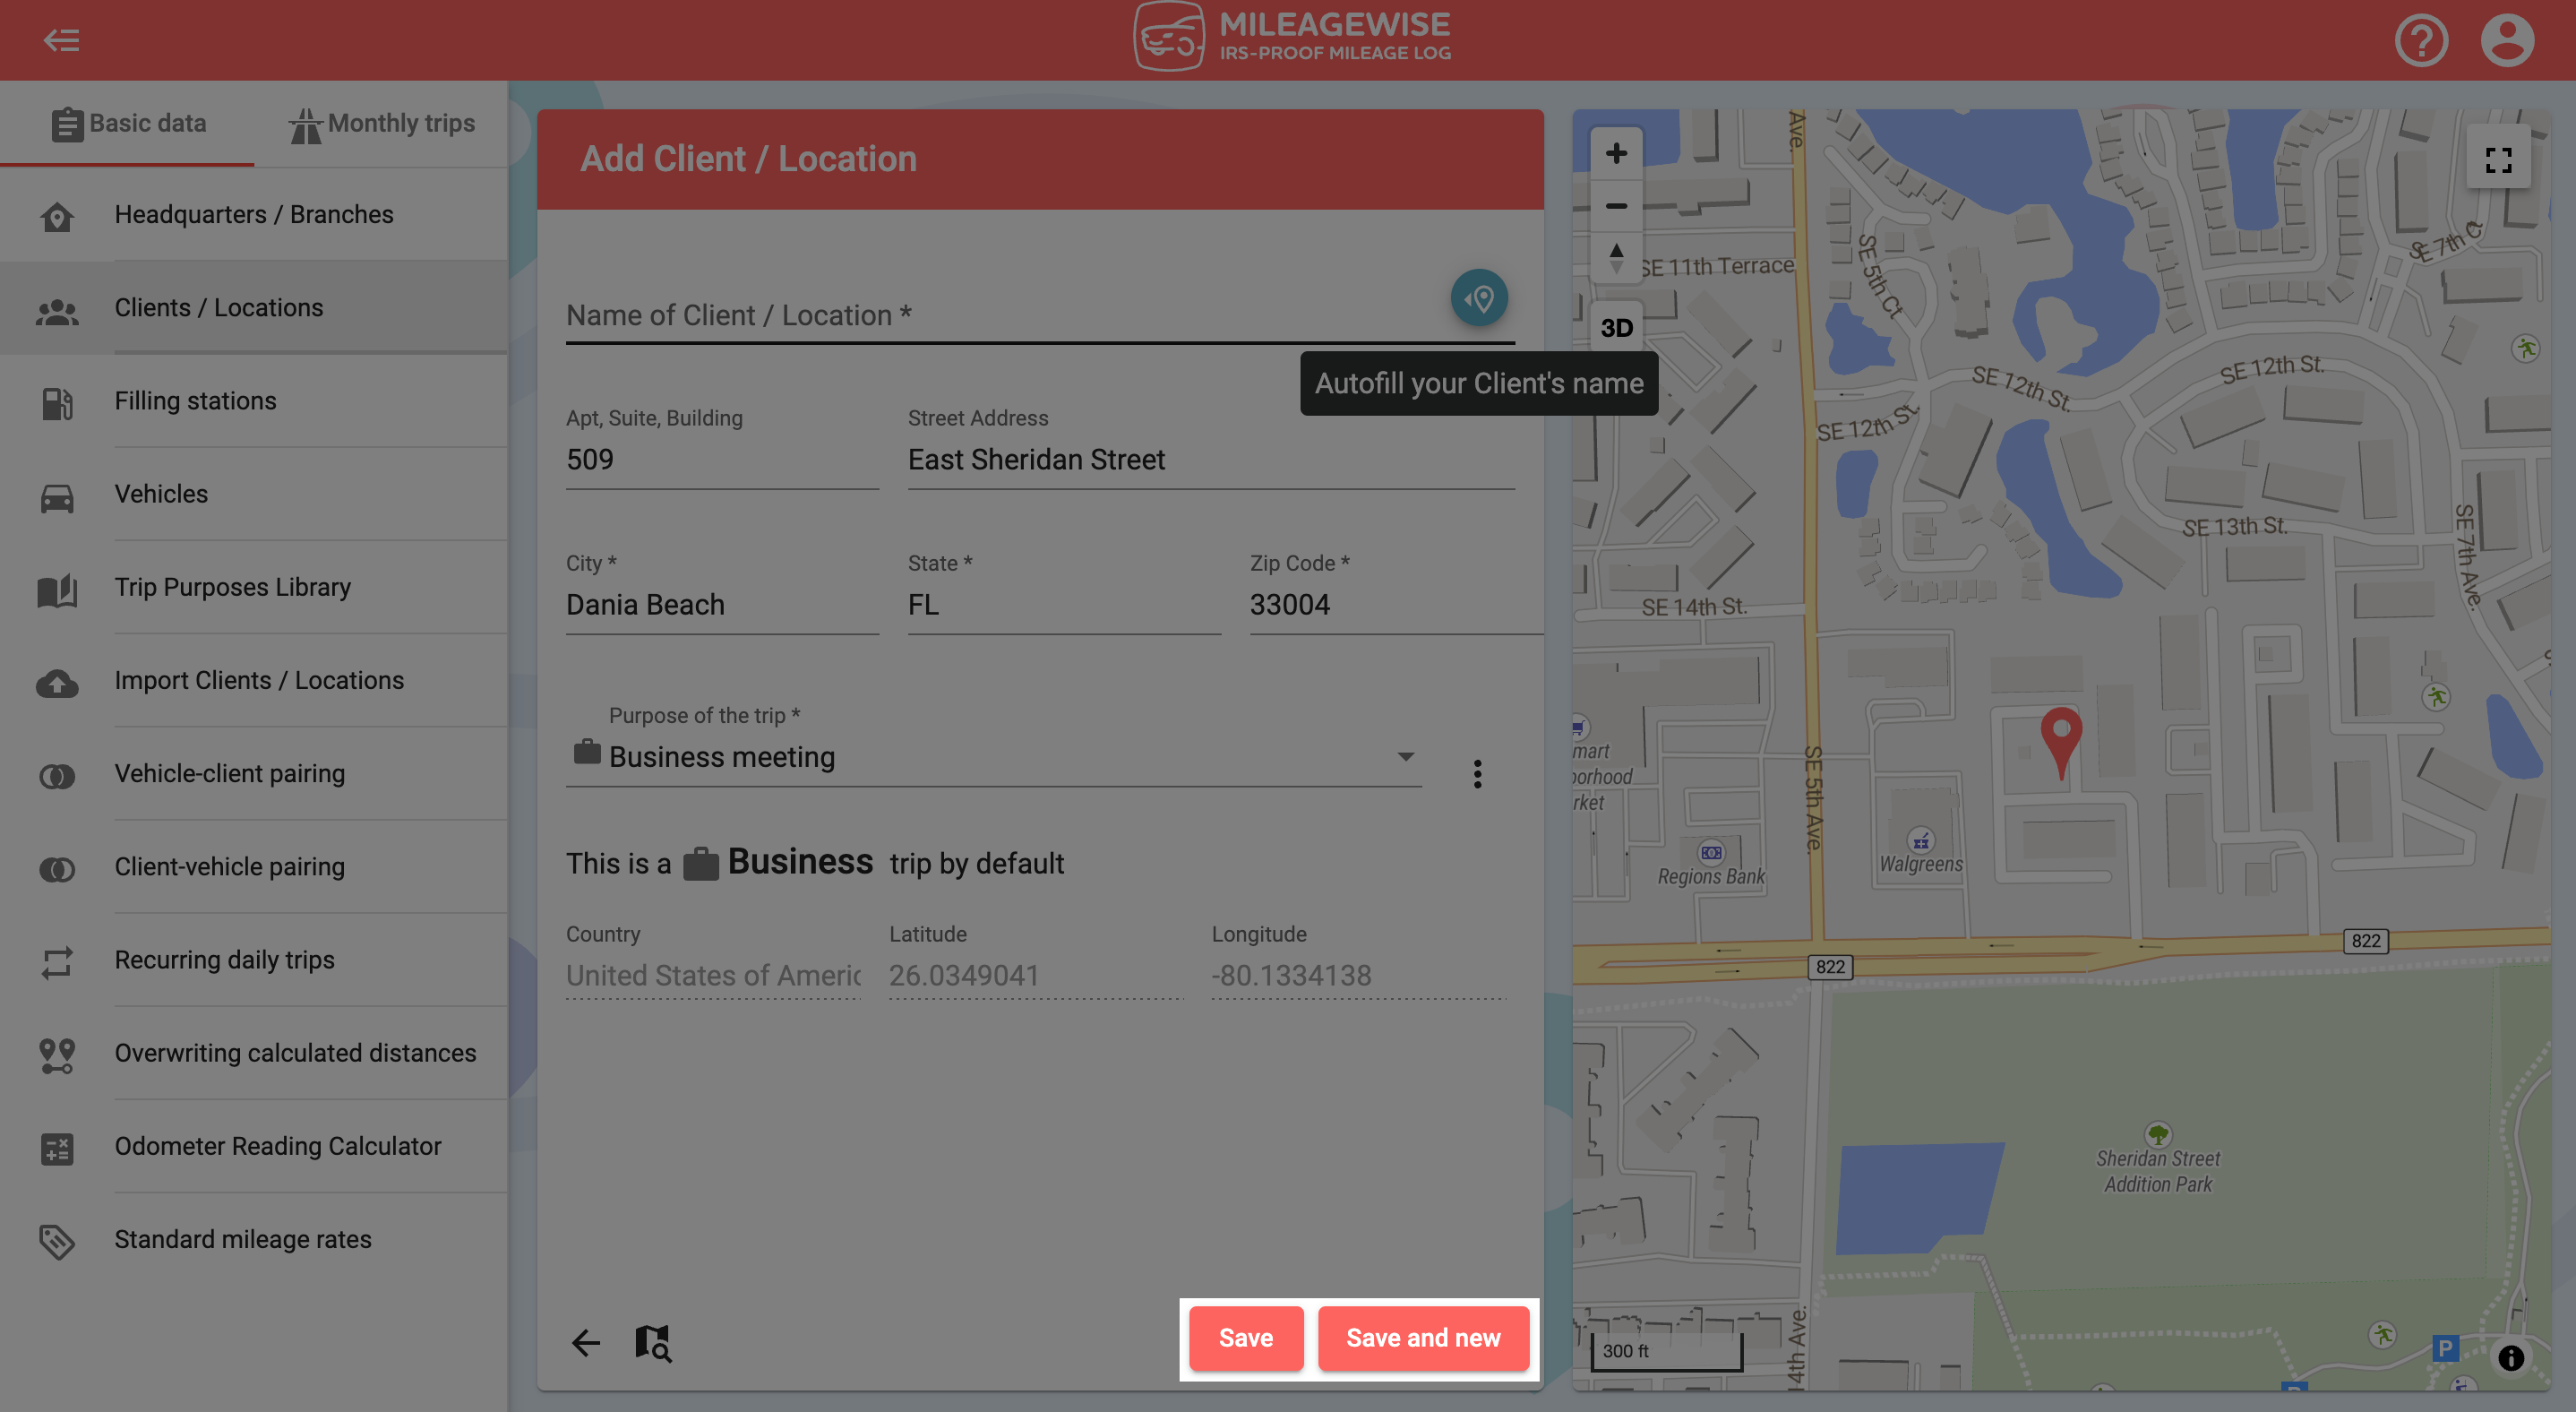 If you would like to record more clients now, click 'Save and new', search for a client, and save as described above.
You can even search for a client by address and company name.